This article provides step-by-step details about how to set up your Dutchie Hub terminals (PAX A920 or PAX Aries8 devices) for use with Pay by Bank. See the Pay by Bank poster gallery for a printable PDF of these steps for your team to reference, and review our basic user instructions for Pax devices in Dutchie Hub Pax Terminals: Basic User Instructions.
Turn on your PAX devices
- Connect the power to your terminal.
- Boot up your terminal. Please allow 2-3 minutes for the terminal to fully boot, before you proceed to the next steps.
Tip: The Aries 8 must be plugged into an electrical outlet to be able to process the transaction.
Click here for a site to order terminal stands for the Aries 8 terminals.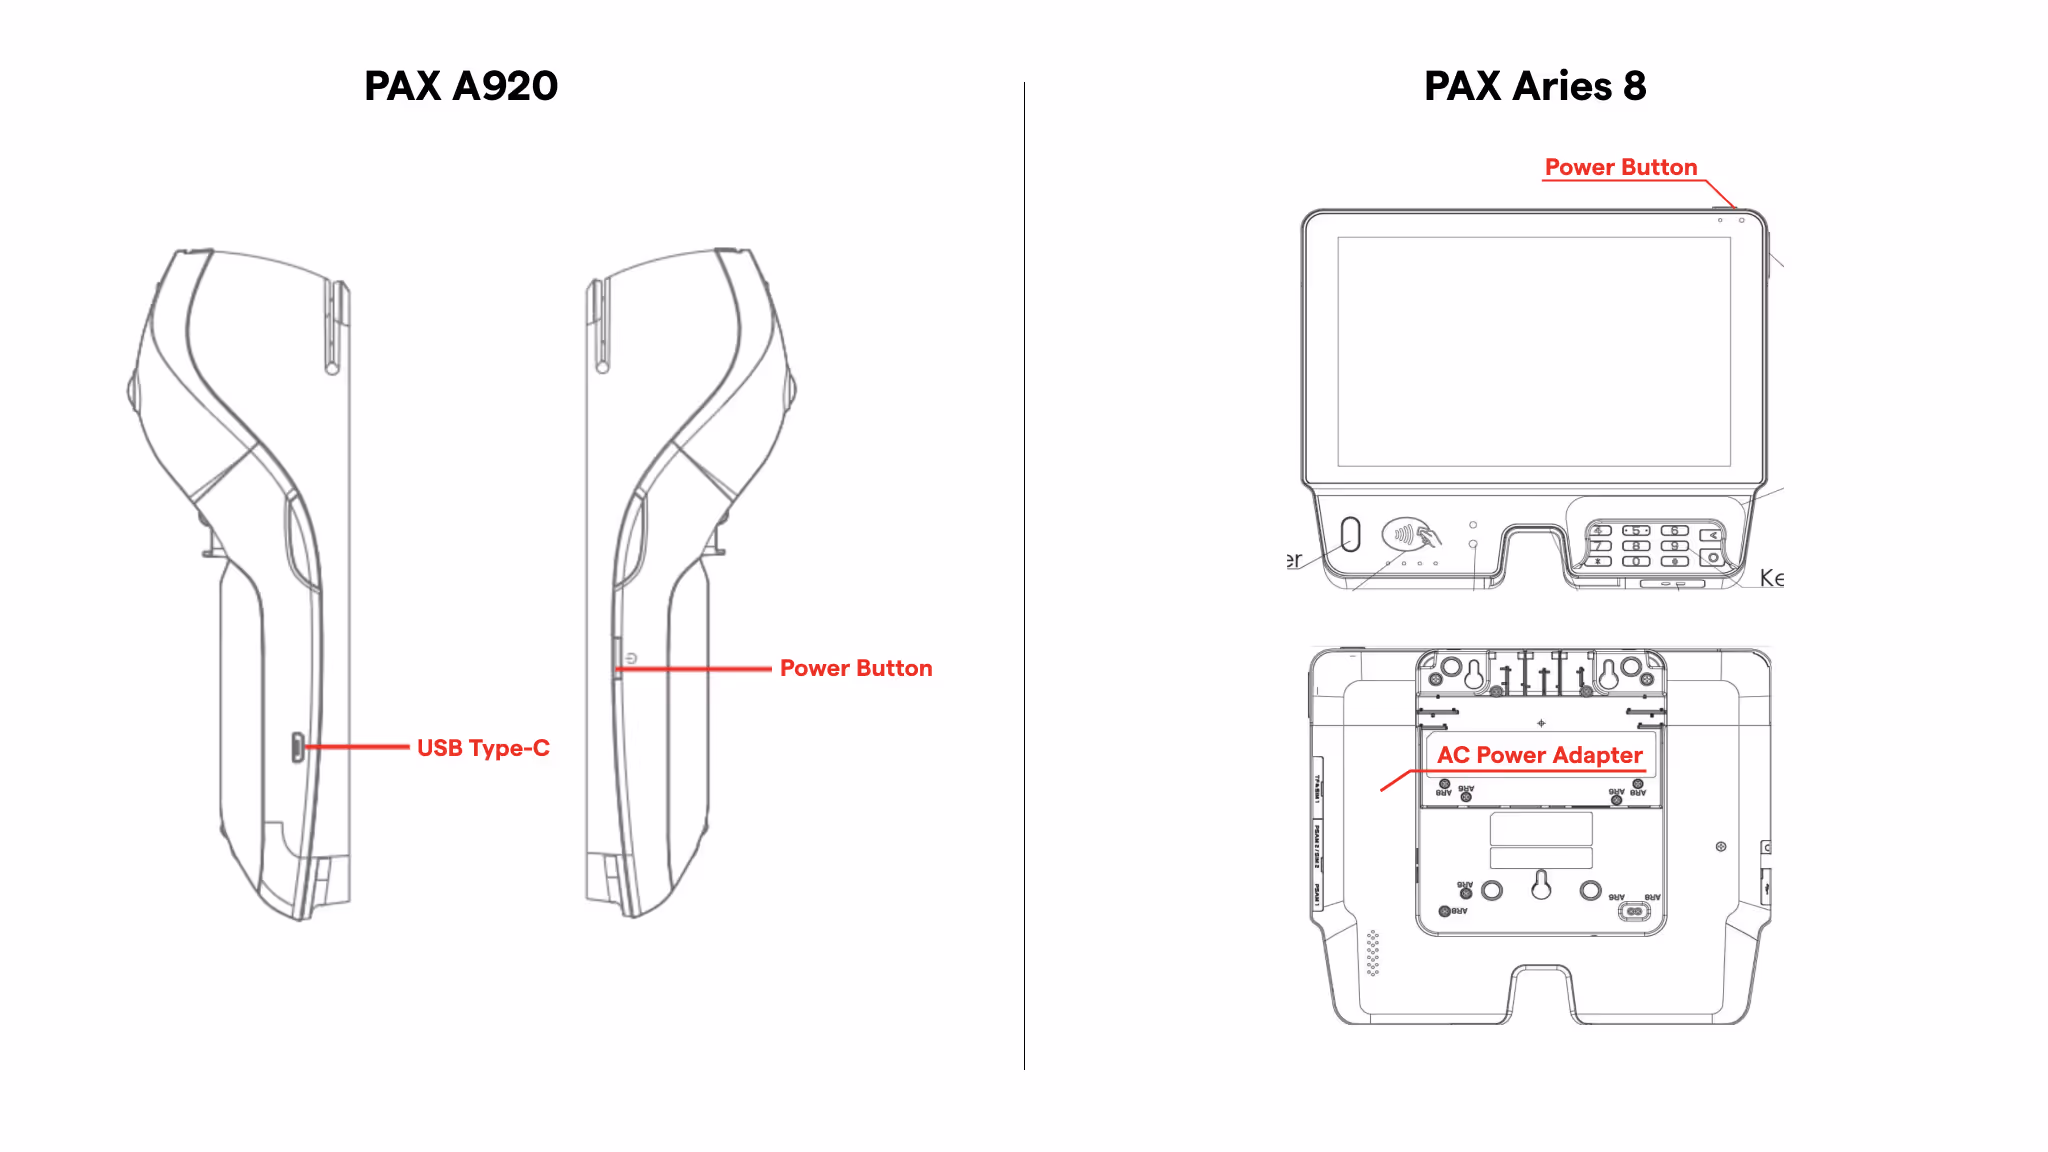
Connect the devices to Ethernet
- Plug in an Ethernet cable to the back of the terminal into the port labeled LAN• The other end of the cable should be connected into the internet router
- Hold down the power button, then select REBOOT to reboot the terminal. If your terminal was connected to Wi-Fi, complete the Disconnecting Wi-Fi steps prior to rebooting.
Note: If your router does not have available ports, an Ethernet Switch can be used. It is recommended to use a managed switch and to consult an IT professional.
Disconnecting from Wi-Fi:
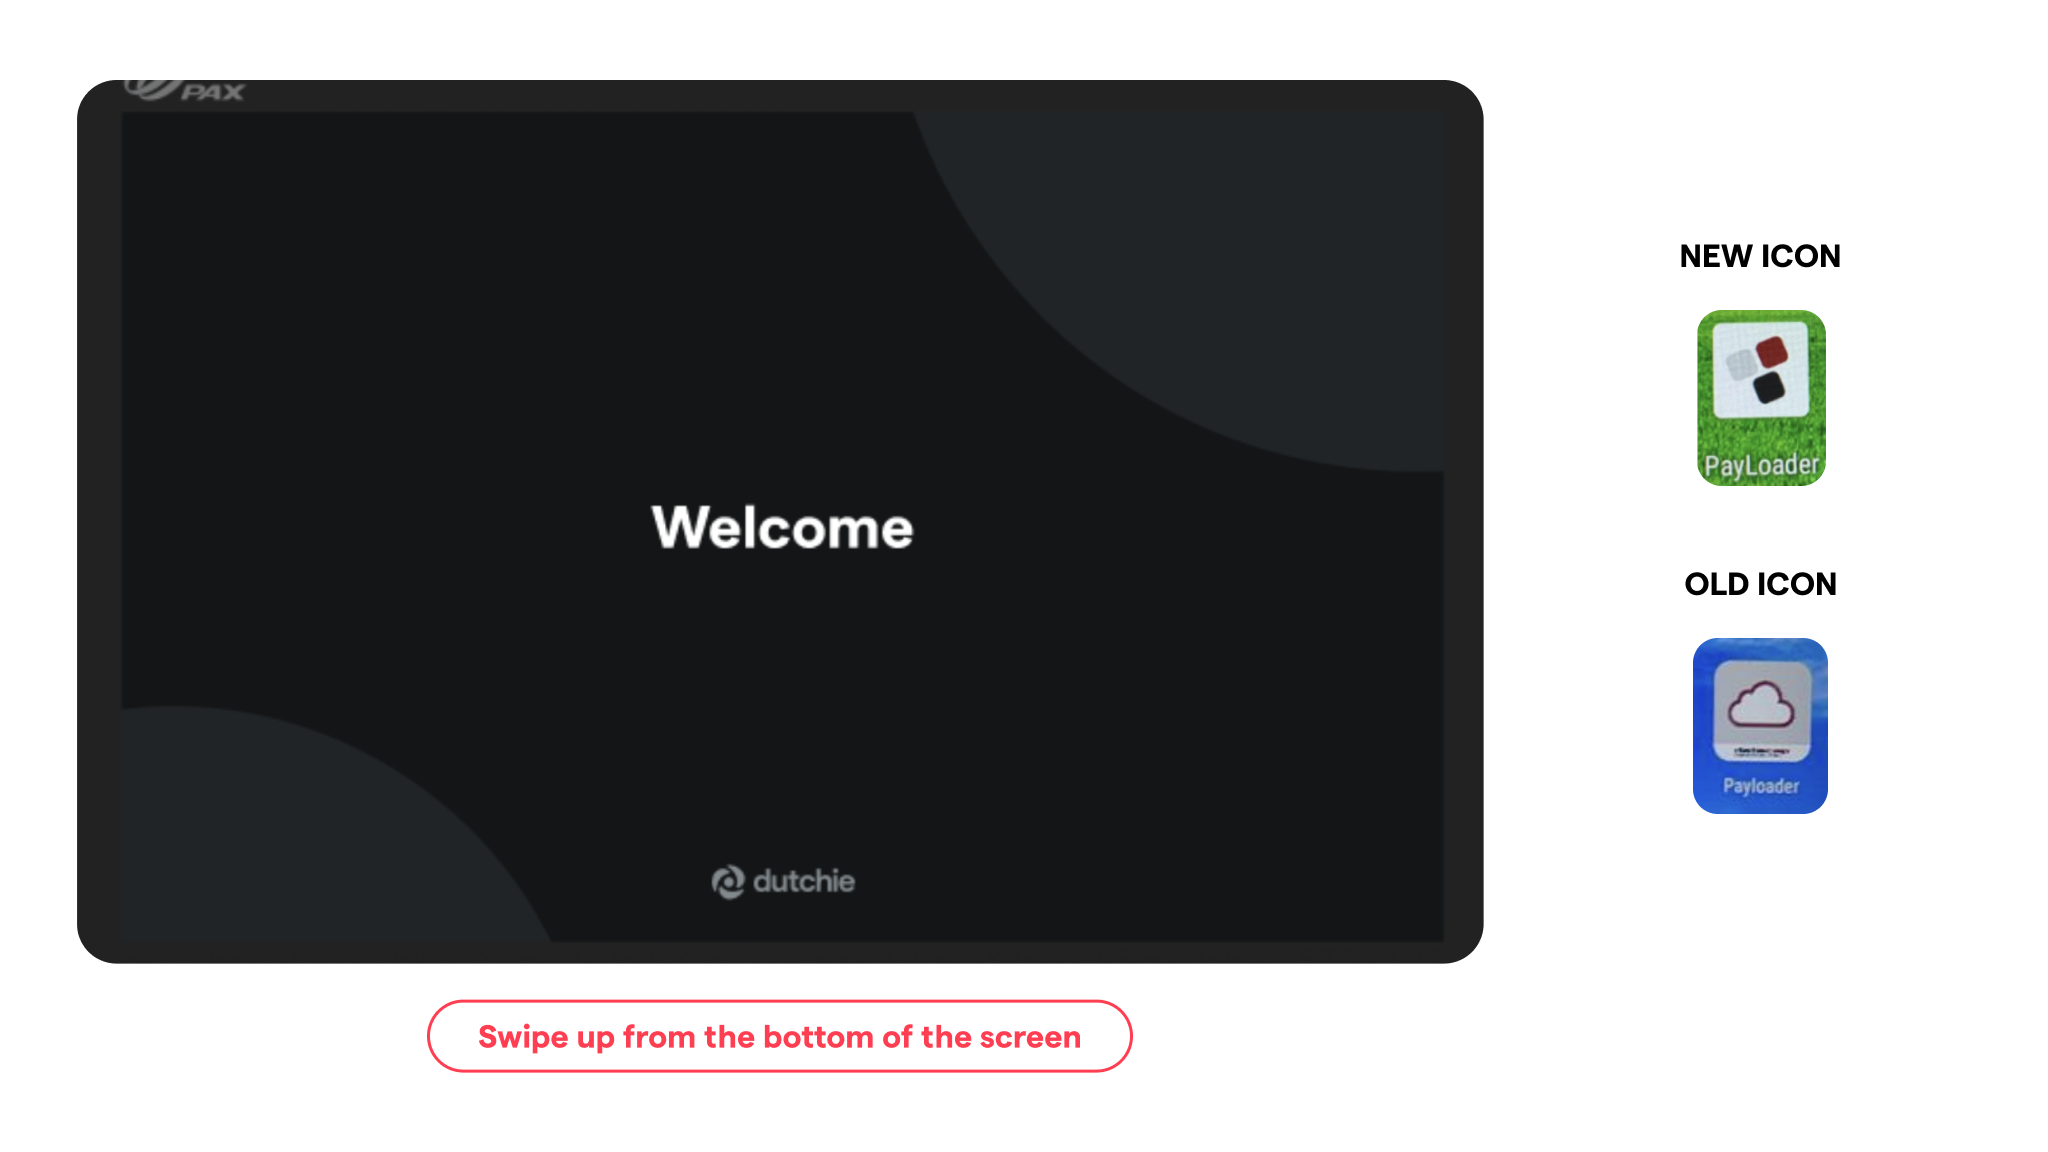
- Once the Welcome screen is displayed, swipe up from the bottom of the screen
- Touch the back key ◁ twice
- When prompted for password, type "pax9876@@" and touch ENTER
- From the Android Desktop touch:
- SETTINGS enter password "pax9876@@"
- Touch OK
- In SETTINGS, select NETWORK & INTERNET Wi-FI
- Then select your Wi-Fi network Touch FORGET
- Touch the home button ○ to return to Android Desktop
Connect the devices to Wi-Fi
- Once the welcome screen displays, swipe up.
- Touch the back key ◁ twice.
- When prompted for Back Desktop password:• Type “pax9876@@”• Touch ENTER• Note: 123456 may work on some devices as passwords may vary.
- From the Android Desktop touch:• SETTINGS > enter password “pax9876@@”• Touch OK.
- Select NETWORK & INTERNET > Wi-FI.
- Select your Wi-Fi network and type your network’s password > Touch CONNECT.
- Touch the home button ○ to return to Android Desktop.
- Once connected to WiFi, your terminal should automatically pull a download to update the software.
Pro Tip: You must have a password protected wifi network for the terminals to workFor the Aries 8, if you would like to use an ethernet connection, simply connect the ethernet cable to the terminal.
Download
- When your terminal is on the black/white Dutchie Hub welcome screen swipe up from the bottom of the screen.
- Touch the back key◁ twice Password: pax9876@@.
- Touch ENTER.
- Find the Payloader App and confirm that the image is the new icon.
If on the new system
- Let the terminal sit and it should automatically checkin and being pulling the download. Allow the download to run and the terminal to reboot. Then the terminal is ready for use.
If on the old system
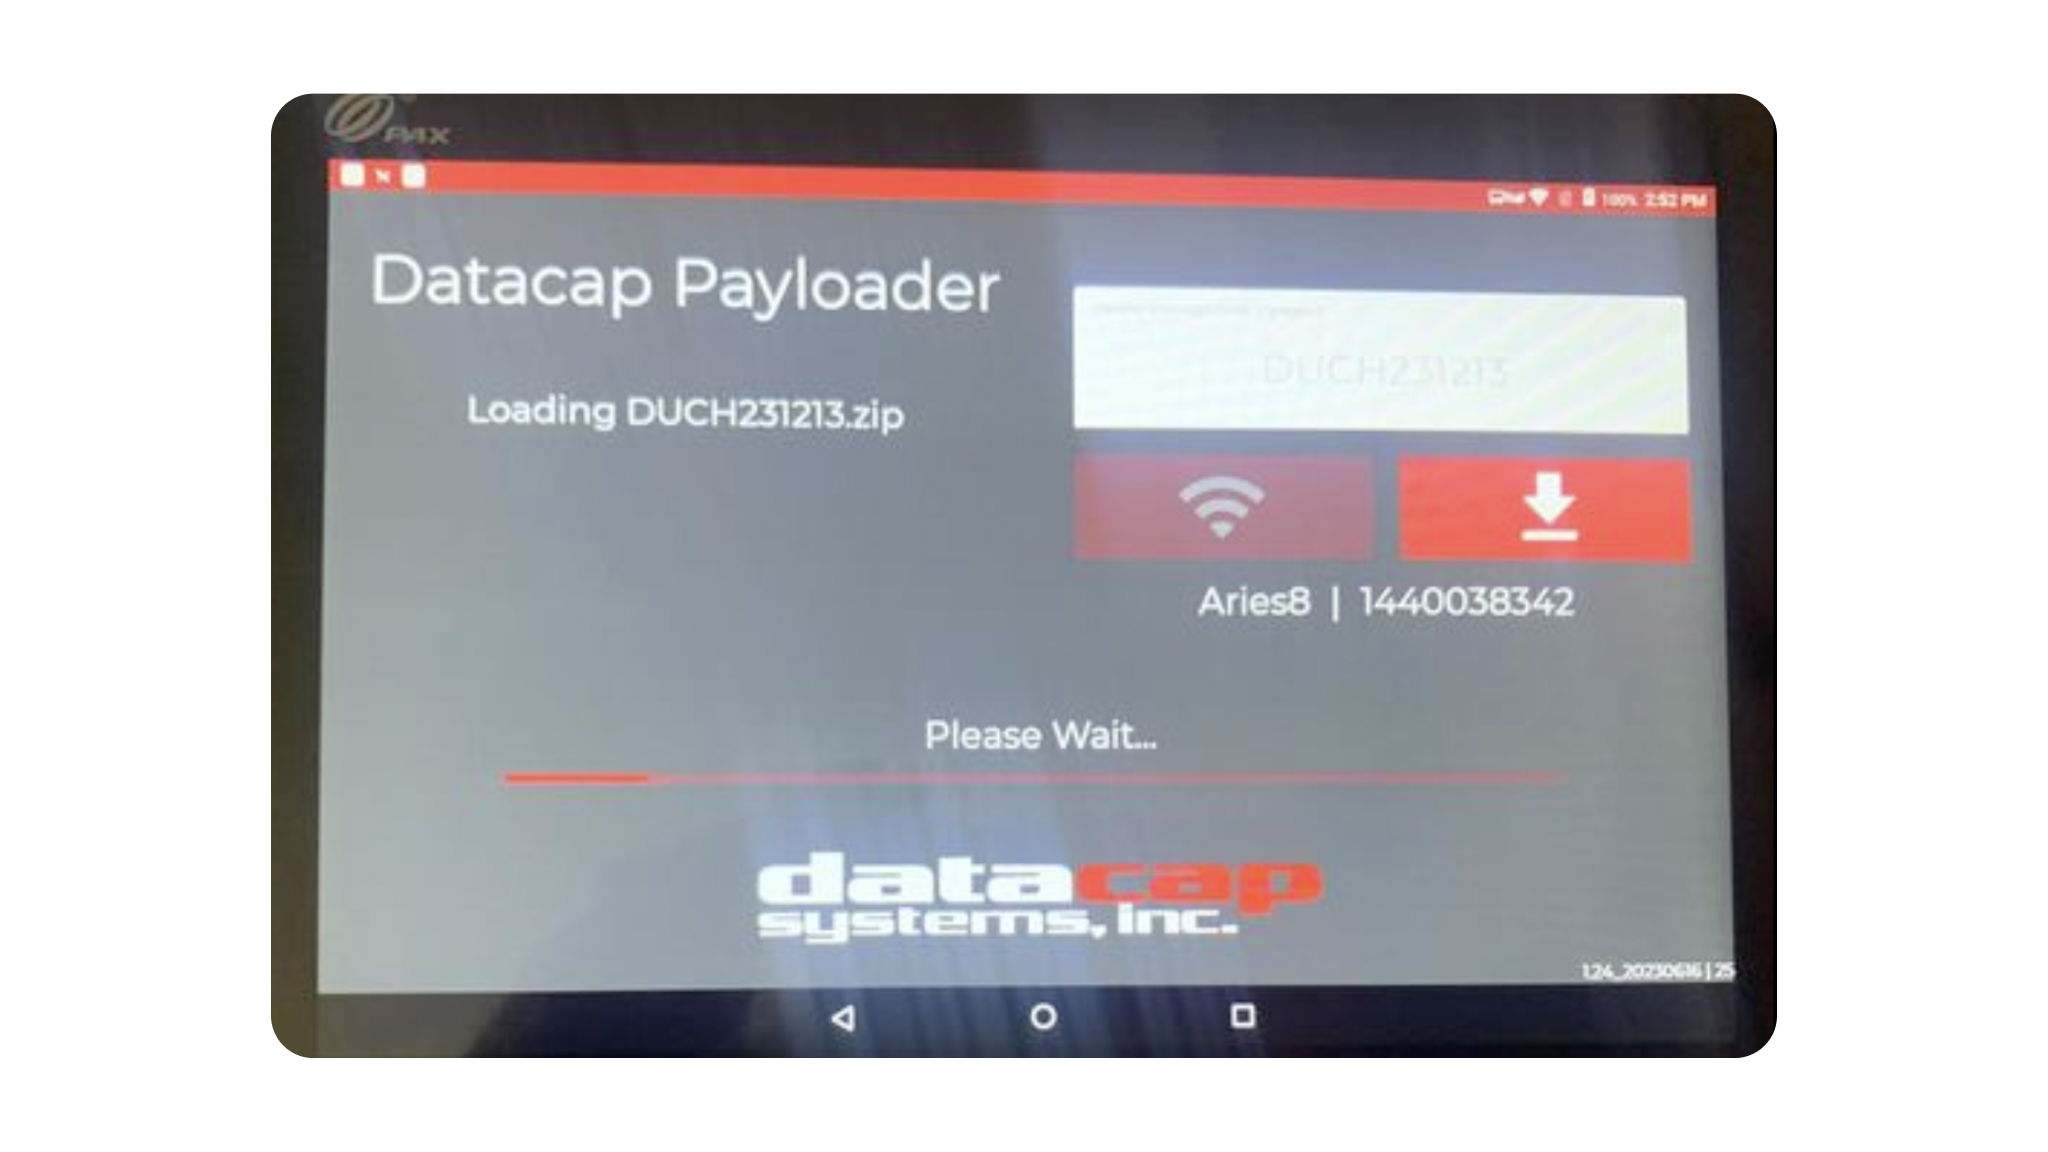
- Open Payloader App.
- In white box enter code DCAP004590 & select download arrow.
- Download will run & terminal will reboot allow your terminal to sit for 5-10 minutes and it will automatically pull all downloads.
Note: If you do not want to wait for the download to pull swipe up from the bottom of the screen and touch the back key◁ twice Password: pax9876@@ and then touch ENTER. From there select PayLoader > and press check in now
Confirming/Adding Terminal Serial Numbers
- Once logged into the back office, go to the left rail and click through Settings > Integrations > Dutchie Hub
-
Toggle Enable to On
- For instructions on how to set up tipping click here.
- Next select Device Configuration.
-
The serial numbers have been entered for you. Confirm that the serial numbers on the terminals match what is in the system. If they have not been added, go ahead and click add to set them up.
Pairing Terminal with Register
- In Dutchie back office, on the left rail click through to Settings > Devices.
- Click on the register you want to link to your payment terminal.
- Scroll down and select a terminal from the dropdown menu next to Dutchie Hub Device menu to link that specific register > select save.
-
Repeat for every register.
Note: Only 1 register can be linked to 1 payment terminal
Reassigning terminals
If you move a Dutchie Hub terminal from one register to another:
Go to Settings > Devices and select the register you're moving the terminal from.
Clear the Dutchie Hub device field and click Save.
Back on the Devices page, select the register you're moving the terminal to.
Update the Dutchie Hub device field with the ID of the terminal you're moving.
Refresh the register, or log out of and back in to the register for the change to take effect.